Introduction
Creating how to make Victorian lamp shades is an exciting craft that transforms your home into an elegant space. How to make Victorian lamp shades has become increasingly popular among DIY enthusiasts who appreciate vintage design and handmade quality. These stunning lighting fixtures serve as functional art pieces showcasing intricate details beloved during Queen Victoria’s era. Whether decorating a bedroom, living room, or hallway, mastering how to make Victorian lamp shades allows you to create custom pieces perfectly matching your interior design vision. This comprehensive guide walks you through every step, from gathering materials to adding final decorative touches, bringing timeless elegance to your home.
Table of Contents
1. Understanding Victorian Lamp Shade Design and Materials
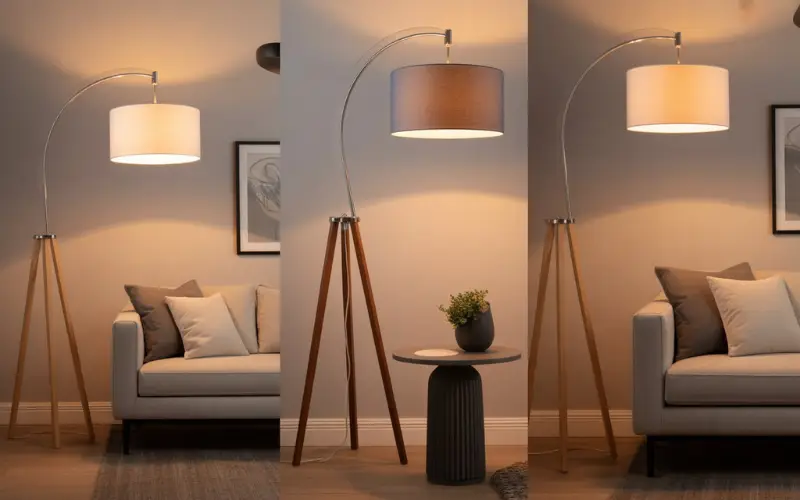
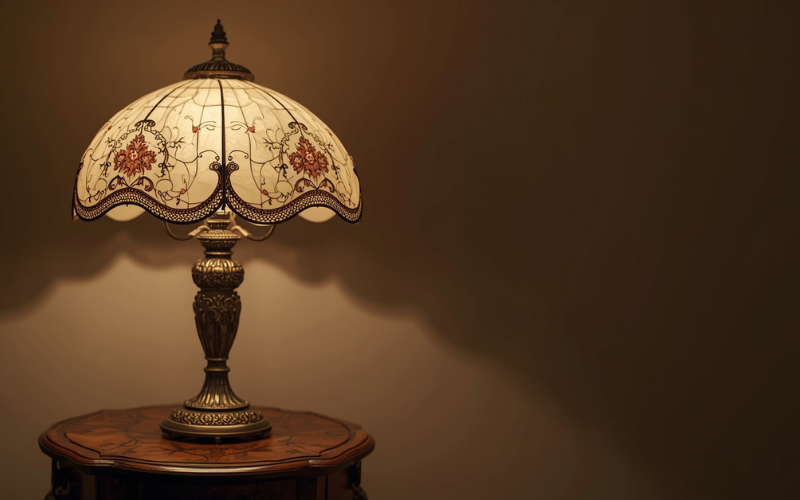
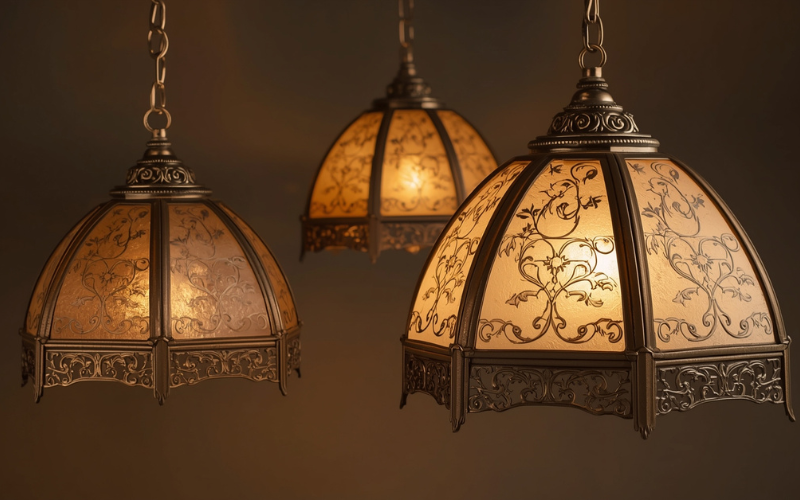
Before starting, understanding Victorian design characteristics is essential. How to make Victorian lamp shades begins with appreciating what makes these shades special. Victorian lampshades are renowned for ornate designs, romantic silhouettes, and luxurious materials reflecting Victorian opulence. Bell-shaped, flared empire, and pleated designs were particularly popular during this period.
When learning how to make Victorian lamp shades, you’ll work with key materials defining authentic look. Rich fabrics such as silk, velvet, brocade, and lace are traditional choices adding visual depth and sophistication. Additional materials include cotton twill tape for binding, decorative trims like gimp braid, fringe in various weights, decorative beads, and embellishments such as laces and appliqués. The color palette typically features jewel-toned hues like burgundy, forest green, and deep gold, though cream and ivory also maintain period authenticity.
2. Gathering Essential Materials and Tools
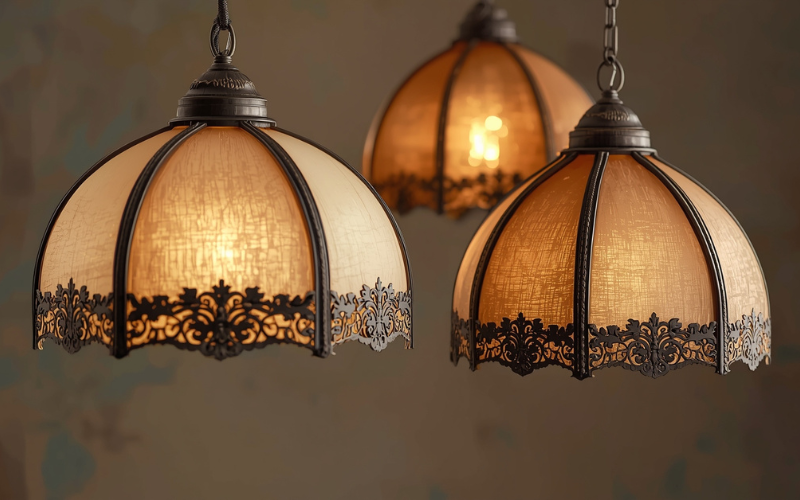
Successfully learning how to make Victorian lamp shades requires having the right materials prepared beforehand. Start by selecting your lampshade frame as the foundation. Wire frames are available in various shapes including bell-shaped, empire, dome, and drum styles. You can purchase new frames from specialty suppliers, find vintage frames on eBay or thrift stores, or upcycle old lampshades.
Your materials checklist includes:
- Wire lampshade frame (bell-shaped or empire style recommended)
- Cotton twill tape or binding tape (12mm for small shades)
- Outer fabric (silk, velvet, brocade, or cotton—1-2 yards)
- Lining fabric (calico or cotton in coordinating colors)
- Decorative trims: gimp braid or scalloped edging
- Fringe (single or double layer in your chosen color)
- Beaded trim or individual beads (optional)
- Ribbon or lace overlays (optional)
Essential tools include sharp fabric scissors, embroidery scissor, dressmaking pins, strong needle for upholstery, extra-strong thread, optional sewing machine, glue gun, measuring tape, chalk or pencil, and needle threader.
3. Binding the Wire Frame: Your Foundation
Learning how to make Victorian lamp shades depends heavily on properly binding your wire frame, as this creates the attachment surface for your fabric. Binding wraps your frame with cotton tape to create a working surface. Measure the amount needed by wrapping one length around the top ring’s circumference, then multiply by three.
Position cotton tape on the frame’s inside diagonally opposite a strut, with the raised edge facing upward. Wrap the tape diagonally up and over the top ring, then down to create a figure-eight pattern around supports. Continue wrapping with each wrap covering half the previous one, maintaining consistent tension. The finished binding should be smooth, flat, and completely secure—this professional foundation directly impacts your finished shade’s appearance and function.
4. Creating Fabric Panels and Patterns
Understanding how to make Victorian lamp shades involves creating accurate fabric panels fitting perfectly between frame struts. Begin by making a pattern template using your bound frame. For each panel section, measure the width horizontally across the frame and double the measurement for curved shaping. Measure height from top to bottom ring, adding ½ inch seam allowance at both edges.
Cut outer fabric panels according to measurements, being generous with seam allowance. Pin panels together using sewing machine or hand-sewing technique. The lampshade stitch (Streatley stitch) is the traditional hand-sewing method professionals use, involving zigzag running stitches combined with securing back stitches. If using a machine, use straight stitches with ¼-inch seam allowance. Always trim seam allowances closely to reduce bulk inside the shade.
5. Adding Layers: Linings and Overlays
Learning how to make Victorian lamp shades includes understanding how layering creates depth and elegance. After completing outer fabric, create matching lining from calico using the same pattern pieces. The lining provides neat finished interior appearance, offers fire protection, and creates proper structure.
Many Victorian makers incorporate decorative overlays of lace, netting, or burnout velvet adding visual interest and authenticity. These overlays are typically sewn over base fabric with careful attention to pattern alignment. When adding overlays as part of how to make Victorian lamp shades, position carefully over outer fabric and secure with hand-sewing for professional, puckerfree finish. Avoid hot glue for overlays, as this causes puckering and appears less refined than traditional hand-sewing.
6. Attaching Fabric to Your Frame
This stage is where preparation comes together when learning how to make Victorian lamp shades. Begin with your lining layer, positioning the “good side” facing outward toward the frame. Pull lining gently into position, matching seams to frame struts. Pin loosely to hold while working.
Using the lampshade stitch, attach lining to binding tape at frame’s top, working around entire circumference. Pull fabric into gentle tension, ensuring stitches remain tight and secure. After completing top attachment, attach bottom edge identically. Now add outer fabric layer using identical techniques. As you attach outer fabric, gather it slightly to create soft folds characteristic of how to make Victorian lamp shades. Work slowly and carefully, pulling fabric from center outward maintaining proper tension. Patience during this stage creates shades worthy of display.
7. Gathering and Pleating Techniques
Creating the distinctive gathered and pleated look defining authentic how to make Victorian lamp shades requires specific techniques adding depth and texture. Hand-gathering involves running long thread along fabric’s top edge, then gently pulling to create soft, even gathers distributing across frame width. Some makers create tight, uniform pleats by calculating top-to-bottom ring circumference ratios and marking precise pleat positions beforehand.
For gathered chiffon layers, thread running stitch along fabric edges, leaving long thread ends for adjustment. Position gathered sections by matching frame struts and pinning temporarily before final attachment. When learning how to make Victorian lamp shades with pleated styles, maintain consistent pleat width—approximately ½ inch at top and 1 inch at bottom creates elegant flared appearance. The “pulling stitch” technique involves literally pulling fabric while sewing, which locks gathers while creating romantic, three-dimensional effects.
8. Adding Decorative Trims and Embellishments
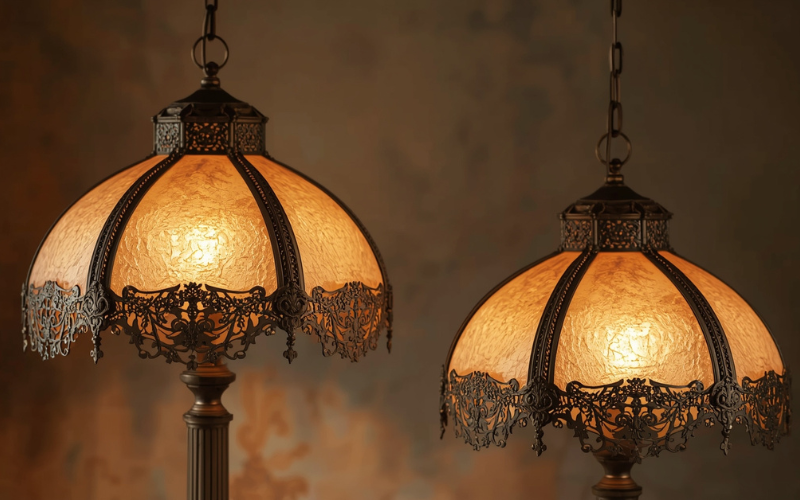
Embellishment selection is crucial when mastering how to make Victorian lamp shades, as finishing details define the shade’s character and authenticity. Begin selecting trims coordinating with fabric colors and design theme. Gimp braid beautifully covers exterior seams, while scalloped edging adds delicate detailing along edges. Apply trims using hand-sewing for professional, lasting finish avoiding separation over time.
Fringe is the signature embellishment for how to make Victorian lamp shades, with traditional styles featuring single or double-layer fringe attached to bottom edge. Apply fringe by hand-sewing to binding tape at shade’s base, allowing fringe to hang naturally. Many makers create visual interest by layering different fringe types—pairing heavy fabric fringe with delicate beaded fringe for textural contrast. Beaded embellishments add sparkle and authenticity; hand-string beads onto thread and attach in organized strands for cohesive appearance.
9. Troubleshooting Common Issues
Even experienced makers encounter challenges when creating how to make Victorian lamp shades. Fabric wrinkles or sagging typically indicates insufficient tension during attachment. Solution: Remove stitches carefully and reattach with firmer tension working center outward. Misaligned seams suggest inaccurate pattern measurements or insufficient trimming—always measure thrice before cutting and trim seam allowances closely.
Puckering in overlays often results from hot glue rather than hand-sewing; always remove puckered overlays and reattach using the lampshade stitch. Fringe hanging unevenly requires steaming after attachment—steam finished fringe allowing thorough drying for professional appearance. Remember that patience and attention to detail separate beautiful results from mediocre ones. Test stitching on scrap fabric first, practice lampshade stitch before beginning actual shade, and consult tutorials when techniques seem unclear.
10. Cost Considerations and Budget
Understanding expenses when creating how to make Victorian lamp shades helps effective planning. Ready-made frames typically range $25-$100+ depending on size and complexity. Upcycling thrift-store lampshades dramatically reduces costs—many crafters create beautiful shades for $5-$15 using reused frames. Premium fabrics cost $10-$20 per yard, while cotton ranges $5-$12 per yard. Decorative trims add $8-$30 depending on quantity and quality.
Budget $50-$150 for single shade using new materials, or $20-$40 using upcycled frames and selected fabrics. Maximize your budget by shopping fabric sales, visiting specialty trim shops for remnant discounts, and considering alternatives like cotton damask instead of expensive silk. Many successful crafters mix expensive decorative elements with affordable base fabrics—splurging on beautiful fringe while using modestly-priced cotton creates professional results without excessive expense.

FAQs
Q1: Do I need a sewing machine to make Victorian lamp shades?
A: No, traditional lampshade making was entirely hand-done using the lampshade stitch. However, machines speed up panel assembly, while hand-sewing offers superior control for final fabric attachment.
Q2: How long does completing one shade take?
A: Beginners typically require 15-25 hours for first shades. Experienced makers complete shades in 8-15 hours. Quality results depend on careful, patient work.
Q3: What’s the best fabric for beginners?
A: Cotton damask works better than delicate silk for learning. These fabrics are forgiving, affordable, and produce beautiful results mastering basic techniques.
Q4: Can I use modern embellishments?
A: Yes, modern embellishments work well for contemporary interpretations of how to make Victorian lamp shades. Authentic reproductions use real glass beads and vintage trims.
Q5: Where can I buy lampshade frames?
A: Check specialty suppliers, eBay, Etsy, or local thrift stores offering vintage frames inexpensively.
Conclusion
Learning how to make Victorian lamp shades is an enriching craft combining traditional techniques with creative expression. These handmade lighting fixtures add timeless elegance and warmth to any room while serving as tangible artistic expressions. Whether creating your first shade with modest fabrics or crafting heirloom-quality pieces using luxurious materials, satisfaction extends beyond the finished product. The skills developed—from frame binding through final embellishment—enable repairing, restoring, or creating multiple shades throughout your lifetime. Your finished Victorian lampshade becomes not merely a functional lighting fixture but a beautiful focal point transforming interior décor. Start your lampshade-making journey today and discover how how to make Victorian lamp shades opens creative possibilities while filling your home with refined elegance.