Introduction
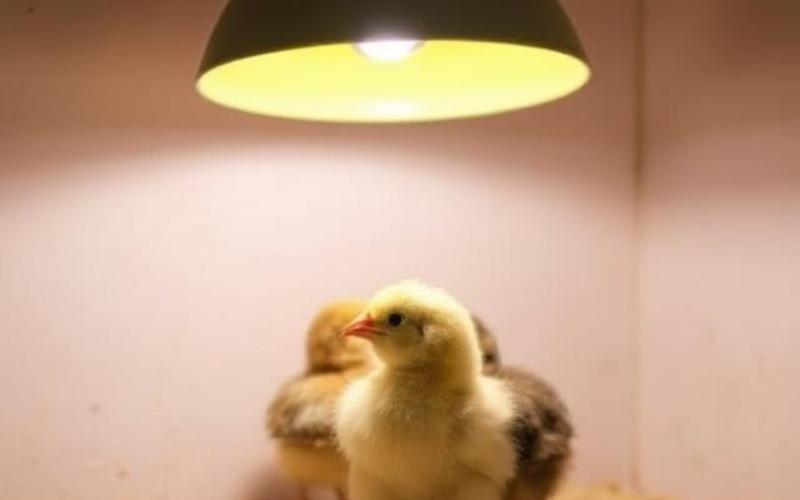
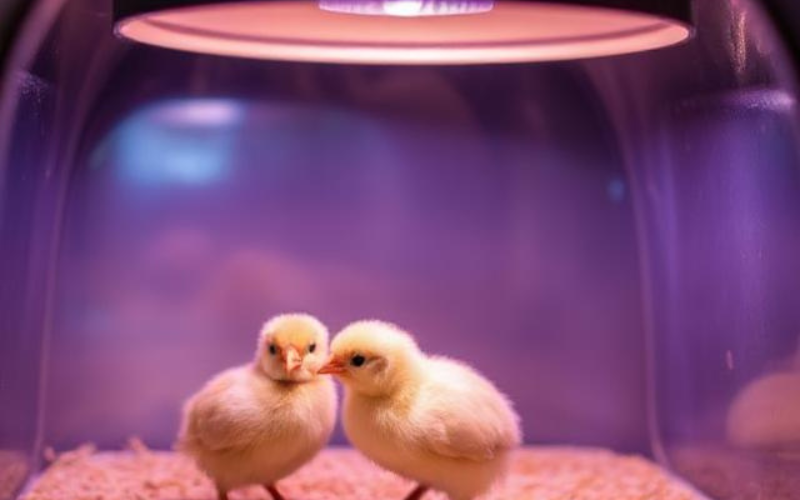
A heat lamp for chicks plays an important role in helping newly hatched chicks stay warm and healthy. In their first days of life, chicks cannot control their body temperature on their own, so steady heat is essential for their comfort and survival. With the right heat lamp setup, chicks can grow safely, stay active, and develop properly from the very beginning.
This guide will help you understand how to choose, set up, and use a heat lamp for chicks in the safest and most effective way. By learning the basics of proper heating, you can create a secure brooding space that supports strong growth and gives your chicks the best possible start in life.
Table of Contents
1. Selecting the Best Heat Lamp for Chicks
Choosing the right heat lamp for chicks sets the foundation for brooding success. Several lamp types cater to different needs:
- Infrared brooder bulbs: Emit invisible heat, reducing stress and light-related behaviors.
- Ceramic heat emitters: Provide steady warmth without any light, ideal for nighttime brooding.
- Traditional incandescent brooder lamps: Affordable and widely available, though less energy-efficient.
Key factors when selecting a heat lamp for chicks include wattage, durability, and safety features. Typical wattage ranges from 125 to 250 watts; smaller brooders usually need 125W, while larger setups may require 250W. Durable sockets and heat-resistant clamps are essential, as is a protective cage or guard around the bulb to prevent direct contact. Choosing an energy-efficient ceramic or infrared option can reduce electricity usage and maintain consistent warmth without bright light, making your heat lamp for chicks safer and more economical.
2. Designing the Perfect Brooder Setup
A well-designed brooder ensures your heat lamp for chicks functions optimally and keeps chicks healthy. Follow these steps:
- Insulate the brooder walls with reflective sheeting or foam board to retain heat.
- Line the floor with clean pine shavings for comfort, traction, and easy cleanup.
- Use a sturdy, heat-resistant clamp to position the heat lamp for chicks 18–24 inches above bedding.
- Place a thermometer at chick level beneath the heat lamp for chicks to monitor temperature accurately.
- Ensure chicks can easily move in or out of the heat zone to self-regulate body temperature.
Proper brooder design minimizes drafts, reduces heat loss, and creates distinct warm and cool areas. This allows chicks to adjust their position beneath the heat lamp for chicks, avoiding cold stress or overheating. A secure setup also prevents accidents—secure cords away from curious chicks and maintain proper ventilation without drafts.

3. Temperature Guidelines and Weekly Adjustments
Maintaining the correct temperature beneath your heat lamp for chicks is vital for growth and survival. Use these temperature guidelines:
- Week 1: 95°F (35°C) under the heat amp.
- Weeks 2–6: Decrease by 5°F each week until chicks are fully feathered (around 70°F).
- After week 6: Turn off the heat lamp for chicks as chicks can thermoregulate.
Observe chick behavior to fine-tune the heat lamp height and wattage. Huddling directly under the lamp indicates they are too cold; spreading out at the far edges of the brooder suggests overheating. Regularly check the thermometer beneath the heat lamp for chicks and adjust the lamp’s height or switch to a lower-wattage bulb. For precise control, consider adding a thermostat or heat lamp controller to automate temperature adjustments and maintain a stable brooding environment.
4. Ensuring Safety Around Heat Lamps
Heat lamp safety prevents fires, burns, and stress for your brood. Implement these precautions with your heat lamp for chicks:
- Secure the lamp with a heavy-duty steel clamp or bracket to prevent falls.
- Use a protective wire guard or bulb cage to shield chicks from direct contact.
- Keep flammable materials—straw, cardboard, bedding—at least three feet away from the heat lamp for chicks.
- Route electrical cords out of the chicks’ reach and inspect wiring regularly.
- Mount the heat lamp on a ceiling hook or fixture, not suspended by cords alone.
Regularly inspect the brooder area for loose fixtures or worn wires. Installing a smoke detector near the brooder area adds extra protection. By prioritizing these safety measures, your heat lamp for chicks will provide warmth without risking accidents, ensuring a secure environment for brooding.
5. Ensuring Safety Around Heat Lamps
Using a heat lamp safely is essential to protect your chicks and prevent accidents. A properly secured lamp reduces the risk of fires, burns, and unnecessary stress for your brood. Always attach the heat lamp firmly using a strong metal clamp or ceiling hook so it cannot fall. Make sure the bulb is covered with a wire guard to prevent chicks from touching it directly.
Keep bedding materials like straw, wood shavings, and cardboard well away from the lamp, as these items can easily catch fire. Electrical cords should be placed out of reach and checked often for damage. It’s also a good idea to inspect the brooder regularly for loose fittings or worn wires. For extra peace of mind, installing a smoke detector near the brooder area adds another layer of safety.
Reducing Energy Costs
Running a heat lamp doesn’t have to mean high electricity bills. Choosing energy-efficient equipment can make a big difference. Ceramic heat emitters or infrared bulbs use less power while providing steady warmth. Adding insulation or reflective material around the brooder helps keep heat inside, so the lamp doesn’t need to work as hard.
Using a thermostat or heat controller allows you to maintain the correct temperature without wasting energy. In smaller brooders, low-wattage heat mats can provide targeted warmth where chicks rest most. If daytime temperatures are warm enough, turning the heat lamp off can also help save energy. With smart choices and regular monitoring, you can keep your chicks comfortable while keeping energy costs under control.
6. Monitoring Chick Behavior and Health
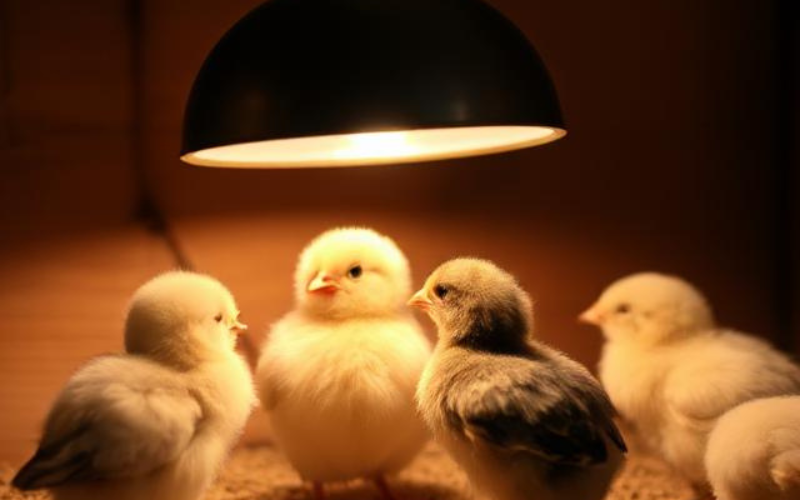
Chick behavior is the best indicator of brooder temperature and overall health under a heat lamp for chicks. Watch for these behaviors:
- Active pecking and roaming in the warm zone signal ideal temperature balance.
- Huddling directly under the heat lamp for chicks indicates they feel too cold.
- Panting, wing spreading, or crowding at the cooler edges shows overheating.
- Lethargy, cold feet, or pale combs can signal temperature issues or illness.
Regularly inspect chicks for signs of distress or sickness, and adjust the heat lamp setup accordingly. Clean the brooder daily, ensuring bedding stays dry to prevent dampness-related health problems. Maintaining proper heat lamp placement and monitoring chick behavior prevents cold-induced stress and fosters strong, active chicks.
7. Exploring Alternative Brooding Heat Sources
While a heat lamp for chicks is the traditional choice, alternative brooding heat sources may better suit some setups:
- Brooder plates: Mounted at chick height, they simulate a mother hen’s warmth from below and reduce fire risk.
- Heat mats: Provide gentle, uniform surface heat for smaller brooders and reduce bright light exposure.
- Ceramic brooders: Enclosed units offering radiant heat without light, ideal for nighttime or indoor brooders.
- Radiant heaters: Mounted above, these distribute ambient heat evenly across larger brooder areas.
Each alternative to the classic heat lamp for chicks has pros and cons regarding cost, safety, and heat distribution. Brooder plates and mats reduce fire hazards and offer consistent heat, while radiant heaters cover larger spaces with minimal fixtures. Assess your brooder size, energy costs, and safety priorities when considering these heat sources.
8. Common Issues and Troubleshooting Tips
Even with an optimal heat lamp setup, issues may arise. Here’s how to troubleshoot:
- Uneven heating: Adjust lamp height or add insulation to eliminate cold spots beneath the heat lamp for chicks.
- Sudden bulb failure: Keep spare bulbs on hand and inspect fixtures monthly.
- Overheating: Lower wattage or raise the heat lamp for chicks; add ventilation if necessary.
- Flickering light: Check electrical connections and replace damaged bulbs promptly.
- Inaccurate readings: Calibrate or replace brooder thermometers for reliable temperature monitoring.
Promptly addressing these problems ensures your heat lamp for chicks provides stable warmth. A well-maintained heat lamp, combined with vigilant observation, prevents dangerous temperature fluctuations and supports chick health.
9. Maintenance Best Practices for Longevity
Regular maintenance helps prolong the lifespan and improve the performance of your heat lamp for chicks and associated equipment:
- Clean dust and debris from bulbs, reflectors, and guards monthly.
- Inspect sockets, clamps, and wiring for wear and tight connections.
- Replace bulbs annually or when luminosity and heat output diminish.
- Lubricate adjustable brackets and hinges to maintain secure positioning.
- Store spare bulbs and heat lamp components in a dry, temperature-controlled area.
By adhering to a regular maintenance schedule, your heat lamp remains reliable season after season. Preventative care reduces the risk of equipment failure, ensuring chicks always have a dependable heat source.
Conclusion
A well-chosen, correctly installed, and carefully maintained heat lamp for chicks is vital for successful brooding. By following this guide’s recommendations—selecting the right lamp, designing an efficient brooder, monitoring temperature and chick behavior, and prioritizing safety and energy efficiency—you can nurture strong, healthy chicks from day one. Implement these best practices to create the ideal brooding environment and watch your flock flourish under the gentle warmth of the perfect heat lamp for chicks
FAQs
Q1. How can I tell if the heat lamp for chicks is too hot or too cold?
A. If chicks crowd under the heat lamp it’s too cold; if they avoid it or pant, it’s too hot.
Q2. When can I stop using the heat lamp for chicks?
A. Chicks usually no longer need a heat lamp once they are fully feathered at around six weeks old.
Q3. How high should I hang the heat lamp for chicks?
A. Place the heat lamp about 18–24 inches above the bedding to maintain safe and effective heat.
Q4. What wattage is best for a heat lamp for chicks?
A. Typically, 125–250 watts depending on brooder size to provide adequate warmth with a heat lamp.
Q5. What safety measures should I take with the heat lamp for chicks?
A. Secure the heat lamp with clamps, use protective cages, keep flammable materials away, and hide cords from chicks.